

Gluing miniatures is an excellent beginning to a hobby of world building, interactive games, and toys. The proper glue is a good foundation for this hobby and enhances enjoyment. It’s important to find the best glue for miniatures before you begin to work on your project. Having the right type of holder, brush, and other essential tools at hand can go a long way toward enjoying the process.
Shopping for glue in the hobby store can be a nightmare with so many choices. Which one is best? Cheapest? Which one will work or not work with my kit? How to know until you buy and try every bottle, right? Wrong! There are several types of glue that work well, but which one works the best for what you’re doing? Different glues are formulated for different purposes, and knowing which glue performs best on the materials you’re using and under your particular circumstances is good information to know.
Contents of this Page
Miniatures are a fun hobby for just about anyone, but like every hobby, the right tools and supplies are important. Without the proper tools and glue, it’s just an exercise in frustration. Gluing miniatures takes patience and a steady hand.
Your project is only as good as the glue that holds it together, so buy the best glue you can afford for the materials you’re using. We’ve all heard the advice to just use super glue. That might be okay sometimes, but it’s not always the best solution. If it works on your project—great! But if not, you want to use something else. In this article, we’ll try to nail down the best glues for different materials and projects.
Here are the 7 Best Glues for Miniatures and Models:
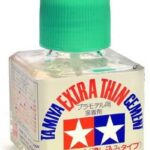
1. TAMIYA 87038 Extra Thin Cement Glue Fine Tip
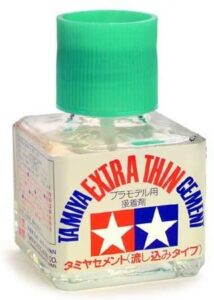
[i2pc show_title=”false” title=”Pros & Cons” show_button=”false” pros_title=”Pros” cons_title=”Cons” ][i2pros]Pointed applicator tip gives you precision control
Excellent for gluing polystyrene plastic parts together
Cement is extra thin for use with very small parts
Bonds by a chemical reaction between the cement and polystyrene plastic
[/i2pros][i2cons]Could have a bad smell[/i2cons][/i2pc]
It runs into the fine crevices and creates a permanent join. Can also be used as a paint remover. Perfect for styrene plastic parts, especially the tiny ones. It’s thin, water-thin, getting into all the tiny spaces, and dries pretty quickly.
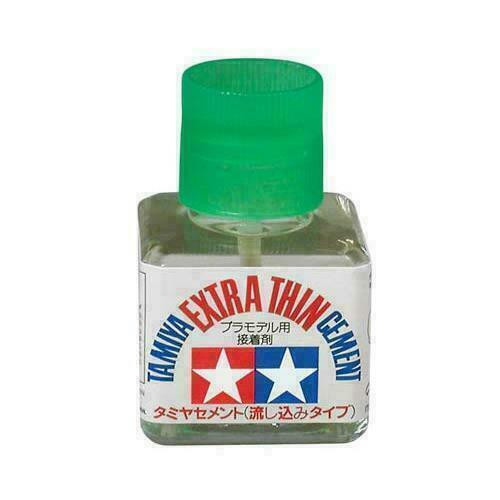
The applicator in the lid is helpful and keeps you from needing a separate scrap of anything to hold the glue while working.
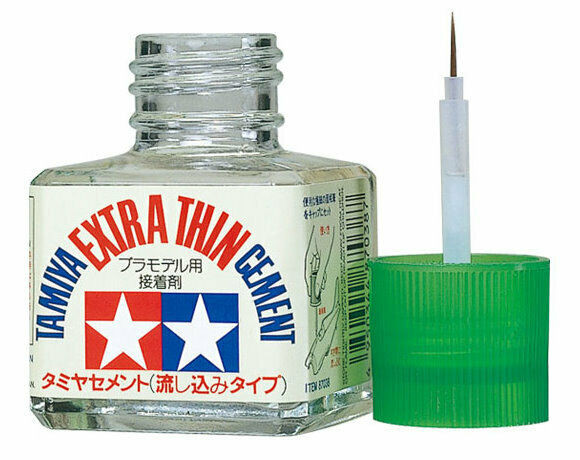
Remember that this glue will only work on polystyrene plastic; it will not work on polycarbonate, PLA, glass, or metal. But it does work on styrene very well, one of the best glues on the workbench.
2. Beacon 3-in-1 Advanced Crafting Glue
![]()
[i2pc show_title=”false” title=”Pros & Cons” show_button=”false” pros_title=”Pros” cons_title=”Cons” ][i2pros]Grabs instantly and dries very quickly
Glue is waterproof and acid-free
Crystal clear and permanent
Great for wood, paper, fabric, and plastic
[/i2pros][i2cons]Does not work with foam products
Creates strings (like a hot glue gun does)[/i2cons][/i2pc]
A perfect glue for the miniature projects, works great with balsa wood, paper, and fabric, although it takes longer to stick for fabric, but that wasn’t a big problem for the project.
![]()
Great glue to use when you need a little time for matching or positioning.
![]()
Dries transparent, so if you get a little on the outside, you won’t see it. It does make strings, but they are easily broken off. It’s manufactured in the USA. It comes in handy all over the house.
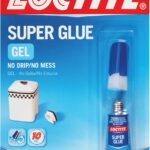
3. Loctite Super Glue Gel

[i2pc show_title=”false” title=”Pros & Cons” show_button=”false” pros_title=”Pros” cons_title=”Cons” ][i2pros]Works on porous and non-porous surfaces
Dries clear
Does not need clamping in order to dry
Moisture resistant, safe for most chemicals[/i2pros][i2cons]Unused glue in the container may dry up if not used soon after opening[/i2cons][/i2pc]
Dries very clear, can’t even see where the mend is located. The flow is easy to start and stop without overflowing. Excellent for precision gluing.
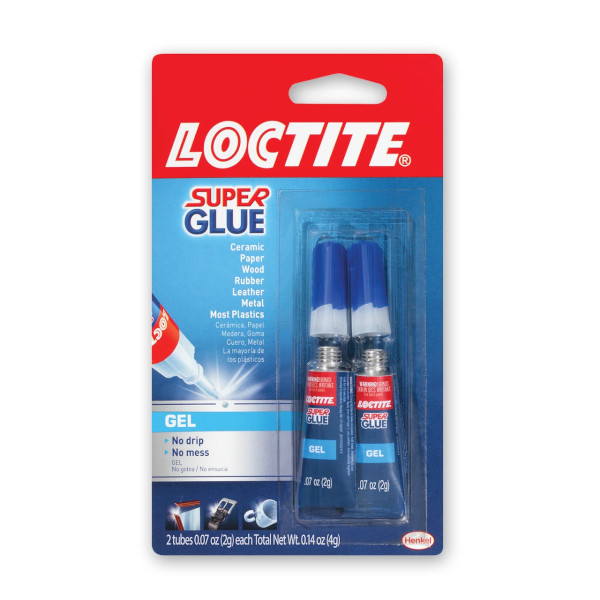
It dries FAST and the reulting disappearing line. The best glue for gluing mini’s as the results were excellent every time.
It’s a staple on the workbench. Recommend highly. If you can only get one glue, this is the one to get. It is perfect for gluing mini’s due to its super strength and really fast dry time.
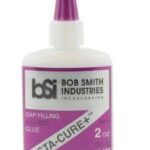
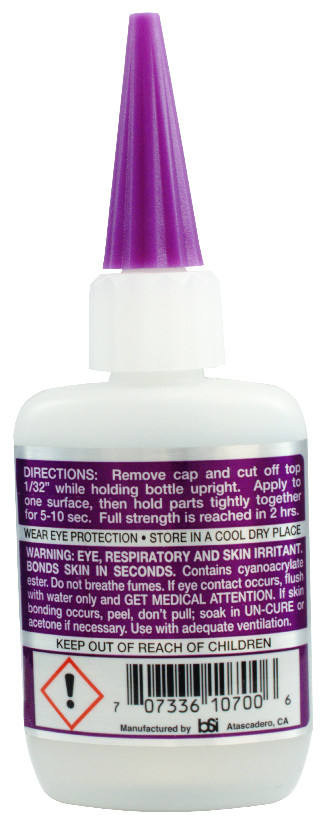
4. Insta-Cure Gap Filling 2oz Bob Smith Ind.
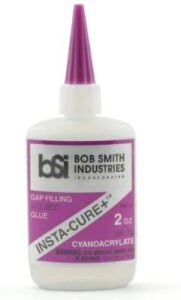
[i2pc show_title=”false” title=”Pros & Cons” show_button=”false” pros_title=”Pros” cons_title=”Cons” ][i2pros]Gap filler plus an adhesive
Grabs after 5-15 seconds of holding the pieces together
Works exceptionally well for loose fitting joints, where gaps need to be filled
Dries clear[/i2pros][i2cons]Hard and rigid when dry
Doesn’t work well on 3D printed parts[/i2cons][/i2pc]
This can glue some different materials together including wood to rubber. Polymer clay pieces stayed together.
And plastic and paper were glued together and stayed together happily. Very thick and stays where it’s put, very helpful. Allows more time for positioning.
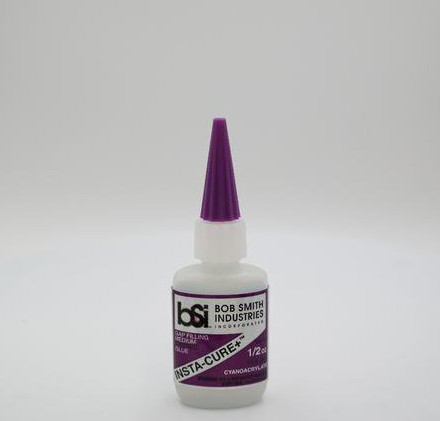
It only takes a drop to make a superior strength bond, which is cost effective in the workshop. Incredibly strong holding power that sets up in ten seconds. Wear protective clothing; it will not come out of clothes. Might also wear some gloves as it’s not easy to pick off skin either.
5. Citadel Plastic Glue
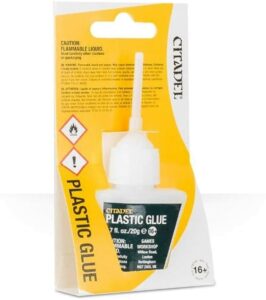
[i2pc show_title=”false” title=”Pros & Cons” show_button=”false” pros_title=”Pros” cons_title=”Cons” ][i2pros]Handy applicator nozzle helps with precision spots
Designed for gluing plastic miniatures
Cures completely in 3-5 minutes
[/i2pros][i2cons]Can have a strong smell, use proper ventilation and/or a mask and a fan[/i2cons][/i2pc]
One the best plastic glue and the melted plastic creates a seamless bond that makes the piece look better than anyone else’s.

The metal tip is excellent for precision application; it puts the glue exactly where it’s supposed to go.

The bottle shape makes for easy gripping.
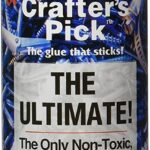
6. Crafters Pick NOM492220 The Ultimate, 8 oz
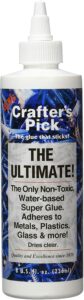
[i2pc show_title=”false” title=”Pros & Cons” show_button=”false” pros_title=”Pros” cons_title=”Cons” ][i2pros]Non-toxic, water-based white glue with super glue components
Dries fast, dries clear
High performance adhesive
Works on multiple surfaces: metal, glass, plastic, wood, vinyl, leather, ceramic, painted surfaces
Acid-free
Large bottle
[/i2pros][i2cons]Doesn’t work on foam products[/i2cons][/i2pc]
Much thicker than regular white glue and can work like rubber cement. The best for plastic, metal, and glass.
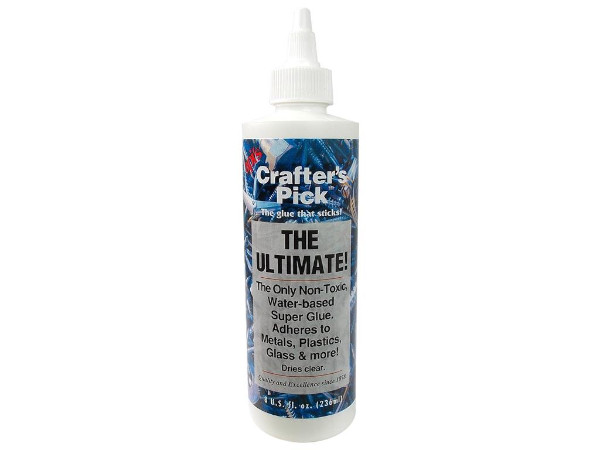
It’s very tacky and dries fast; there are no glue strings like with some other glues.
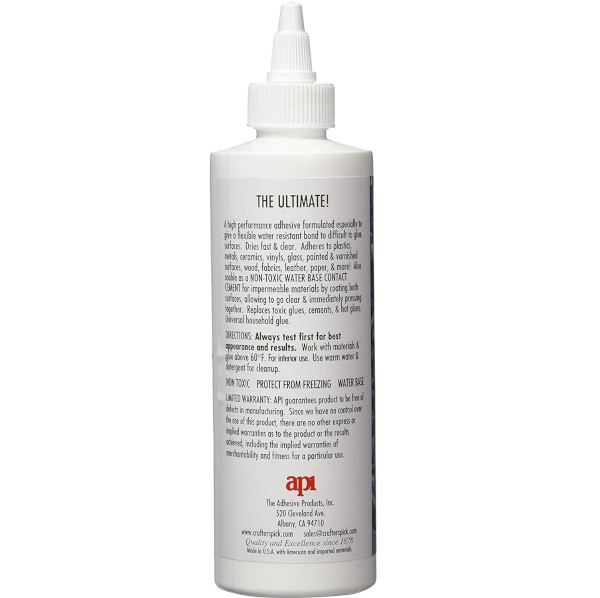
Best white glue ever, has the good qualities of plain old white glue combined with the strength of super glue, and is flexible. Crafter’s Pick is the only way to go.
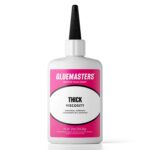
7. Professional Grade Cyanoacrylate (CA) “Super Glue” by Glue Masters – 56 Grams

[i2pc show_title=”false” title=”Pros & Cons” show_button=”false” pros_title=”Pros” cons_title=”Cons” ][i2pros]Precision tip makes it ideal for miniatures
Thick viscosity
Perfect for assembling miniature armies
Works on plastic, resin, and metal
[/i2pros][i2cons]Dried excess glue can be hard to remove[/i2cons][/i2pc]
The bottle is clean and the applicator tip is clog-free even after a year. One of the best glue for gluing miniatures, for CA, plastic, wood, and glass.
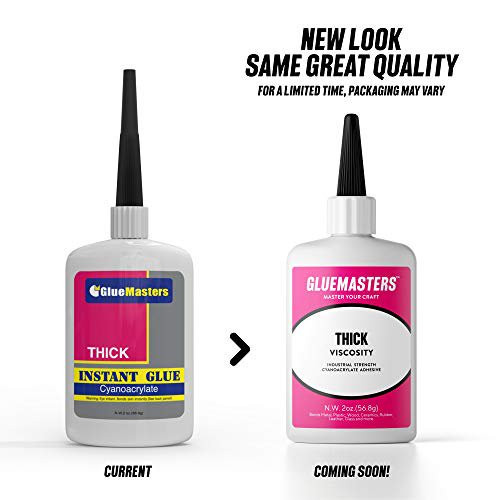
Not only works great for gluing miniatures and building armies but also works around the house, like repairing a piece of the pool filter. Even after being underwater, the repair still holds. Creates very strong bonds.
Guide to Painting Miniatures
The Different Types of Glue:
Some hobbyists recommend purchasing one of each type of glue, just to be on the safe side. Then you’ll have what you need on hand, with no reason to run to the story during precious model building time. Not really a good idea since unused glue can dry up and solidify over time, wasting your hard-earned dollars. A better solution is to purchase glue on an as-needed basis. Determine what kind of plastic (or other material) you’ll be gluing and what type of glue you’ll need, then purchase that one. Here are the five main types of glue or cement you’ll probably be using:
Gap Fillers:
This is a pliable substance that can literally create a bridge between two different parts. Most gap fillers have bonding properties, but they don’t have to. After applying the gap filler, the goal is to create an indistinguishable bridge between the two parts.
- Should have an appropriate cure time: It should allow for enough time to position the two pieces but not take so long that movement happens. It should not shrink, which would cause more gap issues.
- Should be strong and durable: Most gap fillers contain other ingredients to enhance its qualities. Some contain resins, and others contain acrylics, and each of those additional ingredients adds strength and flexibility but requires different finishing techniques. A resin may not take to high heat treatments such as power sanding; it may need to be wet sanded. Be aware of what kind of gap filler you’re working with and if it’s appropriate for your project.
Steps to fill gaps:
- Prepare the surface by washing with soap and water to remove dust and oils or other dirt and debris. Some pieces may need to be cleaned with a soft cloth and isopropyl alcohol.
- Apply the gap-filler into the gap, and in this case, more is better. It allows for shrinkage and moldability. Excess can be removed after it dries with an Exacto knife, file, or sandpaper.
- Clean up the excess before it dries. Use a sculpting tool or, if your gap filler is water soluble, use water.
- Let the gap filler cure into the solid bridge you want it to be. Wait a few hours to overnight to be sure it’s dried all the way through, especially if the gap was large.
- Smooth the surface by using a file or sandpaper.
- Prime and paint.
Super Glue or Cyanoacrylate (is the technical name)
The most common glue for miniatures. This is your Go-To glue, and you should have it around all the time. It’s strong and easy to apply if you’re careful. It sets instantly, so there are no long holding times. In general, it works on wood, metal, stone, paper, resin, and fabric. Once you put your pieces together, the bond is set, so work quickly but carefully.
• It works best on rough surfaces, which increases the surface area, strengthening the bond.
• Some companies recommend wearing gloves when using super glue because super glue will bond skin to objects and to other skin. It’s not unheard of to glue two fingers together. Use caution!
• Dried super glue can be cleaned up with solvent or mechanically by scraping or sanding.
• Store super glue after removing excess glue from the bottle or spout and securing the lid tightly to keep air out of the remaining liquid or gel.
• It is available in different consistencies, from thin to thick gel. The thicker super glue generally takes longer to dry and cure completely.
o Thicker gels contain a rubber compound, and the rubber makes the bond stronger and more flexible. Non-flexible joins break more easily.
• Super glue works best on polyurethane based plastics.
• Be careful to keep it away from clear plastic as it will frost them, producing a cloudy piece, so, for those pieces, use a ‘clear parts glue’ instead.
• Want it to harden even faster? Add baking soda to the glue. After laying down the spot of glue, drop a bit of baking soda on top of the glue before putting the two pieces together. Protect your hands!
• Rescue super glued skin by using a half and half mixture of acetone and Vaseline and applying it with a cotton swab to the glued area. After adhesion breaks, wash with soap and water to remove all traces of acetone. (Use acetone instead of fingernail polish remover, which is only partly acetone.)
• Super glue bonds tend to be brittle and can shatter if the mini or model is dropped or if the piece becomes very cold. Some brands are resistant to freezing; check labels.
• Don’t cut the nozzle to create a hole; just use a pin to stick in the top of the nozzle to allow a very small amount of glue to drip out and thereby control the flow. Clear the pin hole after using it to keep from clogging the spout.
• Start by using a small dot of glue, then add more if you need it. It’s easier to add glue than to take some away from the surfaces.
Epoxy
Epoxy glue comes in two parts, a resin, and a hardener. By themselves, they won’t glue anything, but once they are mixed together, they become an excellent glue for many uses. Epoxy can stand up to extreme heat or cold and is non-toxic. It works well with glass and is food safe. But, it does take longer to dry than super glue.
• It is available in different forms, from liquid to putty.
• All forms of epoxy need to be mixed together before they are useful as an adhesive.
• Use epoxy on many different materials: plastic, wood, ceramic, metal, concrete, resin, or stone.
• Gluing larger pieces of metal miniatures can benefit from epoxy gluing.
• Once mixed, it must be used.
• Epoxy has a longer drying and curing time than other glues, and your items may need to be clamped.
• Usually cures in about 4 hours but check your label to be sure.
• Bond is completely permanent.
• Dripping epoxy glue on your piece is nearly impossible to remove and should be avoided.
• It does not clean up with soap and water.
• It resists shocks and vibrations.
• It could be used to fill gaps.
• Works well to join dissimilar surfaces.
• Works on objects for inside or outside.
PVA White Glue
The most common type of glue there is. You might know it as school glue or wood glue. Almost all of us have this glue at home, and if you don’t you can get it at the grocery store. It’s perfect for paper and wood or almost any kind of porous material. It cleans up with water, is not acidic, and has a nice, smooth consistency. It doesn’t create the strongest bond, but for something that won’t be moved around or handled, white glue should do the job.
A step up in white glue is PVA white glue. School glue is PVC white glue, a lesser quality glue. For any project above and beyond paper and small wood pieces, be sure to get and use PVA glue. It will say right on the bottle.
• Excellent glue for terrain building when you want that perfect world for your minis to live in.
• Available in different strengths and formulas, some are as strong as super glue.
• Dries clear in small amounts, but larger amounts may dry cloudy.
• Works great on foam core and other foam products.
• Should be allowed to dry overnight, especially in thicker applications.
• The join is pretty flexible.
Plastic Cement
This is the go-to bonding agent for polystyrene plastic miniatures. It was designed to adhere plastic to plastic. It can be used on other materials, but it’s designed for plastic. It’s paintable, and it dries quickly. It’s not expensive, and the bond is permanent.
Plastic cement or plastic glue works by creating a chemical reaction that slightly melts the plastic on both sides of the join, and then it hardens, creating one piece from two pieces. Essentially, the join is more of a fusing process, and the end result is one piece is indistinguishable from the other piece. By the same token, be careful about getting this glue on the surface (not to be joined) area of your miniature. It melts plastic, and you can lose detail on your miniature if you’re not careful with the application.
This is a toxic glue, and proper ventilation should be utilized. Use these products with caution; they can cause burns and eye damage.
• Specifically formulated for polystyrene plastic.
• Will not work on metal, resin, or wood.
• Great for clear plastic; it does not create frosting or clouding.
• Can travel along a seam by capillary action.
• Bonds almost instantly.
• A good thing about using this glue, even if the fit is not exactly perfect, the join will still hold due to the slight chemical dissolving process that takes place between the glue and the plastic.
• It will remove paint, so be careful.
• Not suitable for metal or glass.
• Dries very quickly.
• Use proper ventilation in order to be safe and healthy.
Tips for Gluing Miniatures:
It’s always good to get some good tips when starting a new hobby. It gives you a good idea of what to do first, what not to do first and generally tells you how to proceed so you don’t waste your first kit making mistakes. Learn from those who’ve gone before and make the most of your new kit and glue!
1. Use a little glue as possible. Generally, you need less than you think, and you can always add more. A little glue goes a long way. And there is one perk when you use less glue, and that is a faster drying time.
2. If the glue container doesn’t have a suitable applicator, put a blob of glue on a scrap piece of cardboard, plastic, or glass, or a dry soda pop lid, and use a wooden toothpick (round or flat) or a bent paperclip to apply the glue to your project. Don’t make the blob too big; it could dry before you use it up, and then it is wasted.
3. If you’re not sure you have the right glue, do a test on an underneath area or a scrap piece. If it doesn’t hold, get another type of glue. Double check to make sure you followed directions.
4. Use plastic glue for gluing plastics. Plastic glue adheres by a chemical reaction between the glue and the plastic. It actually melts the plastic a tiny bit and then hardens, creating a super strong bond.
5. Because plastic glue does melt the plastic, be sure to apply glue only to the bit that is joining. Melted plastic on the public parts of your project will only damage your look.
6. Before applying glue, do a test fit to be sure the pieces will fit together.
7. To strengthen joins, you may need to pin them. Do this by drilling a small hole into each side, apply a drop of glue in one hole, insert a short length of a paperclip, then place another dot of glue in the opposite hole, and then fit the two pieces together. The pin will keep the join strong, especially in situations where the part would be in danger of shearing off.
8. Use whatever tools make the process easier. Try using different types of tweezers to hold tiny pieces, clamps or tape, or even a book to place next to the drying piece. Think outside the box, so you are not the one holding two tiny pieces together for two hours. Or if you are, turn on a movie.
Tips on Prep Work
What’s the saying, “An ounce of prep work is worth …” No, that’s something else. But the same principle applies. Don’t skimp on prep work; your paint job will suffer if you do, and you won’t be pleased with the result. Take the extra time to prepare the pieces properly for the best result. The best toys and game pieces are ones where the prep work was meticulous and consistent.
1. The key to a good paint job is the prep work. This alone can’t be stressed enough.
2. Clean each piece or part well. Wipe with soap and water or isopropyl alcohol to remove dust, dirt, grease, and oils. Even oils from your fingers can ruin a paint job. Let dry thoroughly. Put the pieces in front of a fan in order to thoroughly dry all cracks and crevasses.
3. Remove all the mold lines you can reach. All the pieces are formed by pouring plastic into a mold. The edges of the mold will leave slightly raised lines on the piece and should be removed. The mold lines won’t show up so much on the unpainted piece, but they will glare after the paint is applied. Remove the lines with an Exacto knife or a file, whichever tool seems to fit best in the area. Some mold lines will be very hard to reach and can be left. One solution is to cut away the part that is in the way, remove the mold lines and then glue the part back on, perhaps pining it. But only if you’re very particular about removing absolutely every single mold line, seen or unseen.
4. Go slow when removing mold lines. With enough pressure, it can be pretty easy to slice off an ear or an arm, and then you’re presented with a new gluing challenge. Gluing miniatures is a process. Enjoy the process.
5. Fill in all the gaps. Tiny gaps don’t have to be filled, but large ones do. There are different products to fill gaps, such as liquids, cement, or putty. Fill the gaps according to your product’s instructions and let them dry thoroughly. When it’s completely dry, sand or file to smooth.
6. Paint!
On Gluing Metals
Today most minis are plastic, but they used to be made primarily from metal. We still assemble metal pieces today, and while the principle of gluing is the same, they do require a little bit of a different treatment.
Prep work is just as important when working with metals as it is in working with plastics. Make sure the pieces are clean by washing with soap and water and drying thoroughly. Use a toothbrush to get into all the cracks and crevasses. Let the pieces air dry for a little while just to be sure all moisture is gone. Use an Exacto knife to remove the mold lines and then lightly sand the areas to be joined. Sanding provides a hold or a grip for the glue and makes a better join.
While different plastics require different glues, with metal minis, metal is metal no matter the configuration of metals in each piece. The same glue will work on all metals. However, PVA and plastic cement will not work on metals. If you have different types of PVA glue on hand, you might try them if you’re out of super glue.
For minis or other tiny parts, the best glue is CA glue, or super glue because of its tiny nozzle or applicator that has the ability to put glue down in a precise way. However, the super glue takes longer to bond with metal than it does with plastic. With a metal mini, you may need to hold the pieces together for 30-60 seconds in order for it to hold. Consider using an accelerator in order to speed up the cure time. Thirty to sixty seconds is not a long time until you multiply it by the number of pieces in the mini and then by the number of minis you want to glue today! Time adds up, and soon you’re spending hours holding pieces together. Maybe not the best use of your time.
For larger pieces of metal, epoxy glues are best due to their slower dry and cure times. The slower time allows coverage over a larger area without hardening prematurely, giving you time to cover and position exactly how you want it.
Be smart and safe in your use of glues. Using super glues in enclosed spaces can cause headaches, and who knows what other health problems. If you can stand it, wear a mask and open a window. Epoxy glues can cause dermatitis in some people, so consider wearing gloves when working with it. This hobby is supposed to be enjoyable, but it’s not pleasant when it causes you to deal with health problems!
FAQs
1. Can’t I just use the bottle of Gorilla Glue I have in my kitchen?
No, not really. This is an entirely different product and not suitable for building or gluing minis or models. It might come in handy gluing scenery in terrain-building while using more natural materials such as paper, wood, and stone, but it’s not suitable for plastic and metal. Besides, it’s much more complicated to use than a super glue or plastic cement—you need to apply water to both sides of the join, apply the glue and then clamp it because it’s not quick dry and the glue will expand. There are different glues available because there are different needs for glue. Using the appropriate glue will make your hobby more enjoyable and less frustrating. And who doesn’t like to make a trip to the hobby store to buy a new glue?
2. What do I do if I spill glue on my mini or model?
Keep paper towels on your worktable and keep small pieces of it nearby when gluing. If some glue drips onto your work, wipe it up right away, as quickly as you can. Some glues dry very fast and once dry, they must be scraped or sanded off. Prevent spills by learning and practicing precision gluing techniques, using nozzles to their best uses, and really, just being very careful.
3. Can I really use school glue to build my terrain or minis?
No, not really, well, I guess you could use it on some things in a pinch, but only on the most unimportant parts. Technically, all white glue is not created equal. The school glue we all know and love is a PVC glue, and that’s a lesser quality than a PVA crafters glue, such as Beacons 3-in-1 or Crafter’s Pick glue. It certainly won’t work on plastic or metal. Use it only on natural materials, porous materials that give the glue something to grab hold of, and then only on lightweight items such as paper, balsa wood, or a small piece of fabric.
4. What if I don’t have a window in my work area and I want to use super glue?
Use a fan to dissipate the vapors and fumes and take frequent breaks. Wear a mask to filter out the smell. If you start getting a headache, that’s telling you it’s time for a break. Go outside and breathe some fresh air. Walk around a little bit, get a glass of water and wait until your headache goes away before starting to glue again.
Conclusion
There are thousands of options and kits and ideas and opinions on this miniature hobby, game pieces and toys, world building, dollhouse building … literally anything tiny qualifies. In order to make this an enjoyable process for yourself, you need to use what works best for you. Try recommendations and if they don’t work, move on to the next recommendation. Form your own working plan and do what you need to do in order to enjoy the process. That’s what it’s all about, right? It’s a hobby, it’s not a job. Hobbies are for fun and relaxation.
The recommendations are for our convenience, to give us a starting place. Where we go from there is called making our own road. Who knows what kind of new process or idea you might come up with? Don’t be stressed by the choices; instead, embrace the choices as a way to un-stress. Before this, seeing all those glues in the hobby store was a source of stress, and now it’s not. Now you know exactly what you want to start out with and which product you want to begin the journey with. And if that product doesn’t work, then you know to move on to the next one without regret. In time, you’ll find your favorites for your particular hobby, and then you’ll try new glues as they come on the market and write your own blog posts about the experience. Yes, start a blog about your new hobby. We love to see others join in on our obsessions, and who knows, you may build a following!
A nice thing about entering the hobby world is the free exchange of information and the help that is only as far away as your computer. Numerous sites, groups, and boards exist, and almost all of them have contact emails or chat now windows. They are happy to answer your questions. It’s likely that someone is on a board or a group at the same time you’re asking your questions. A local hobby store is nice, but it’s not always open at 3am when you’re up and find yourself with a half hour to glue minis before going to bed.
Go forth and build new terrains and new worlds, enter into game playing with your pristinely made minis! Now you know what everyone else on the mini board is talking about; you know some terms and have caught the general idea. Enter into conversation like you know what you’re talking about—at least enough to ask an intelligent question! After a bit, you can share pictures of your first efforts and receive encouragement and maybe some ideas to make your hobby more enjoyable. Hobbyist’s love to share photos of their creations, and they love to see what everyone else is making. Enjoy!
Recap: Here are the 7 Best Glues for Miniatures in 2021
- TAMIYA 87038 Extra Thin Cement Glue Fine Tip
- Beacon 3-in-1 Advanced Crafting Glue
- Loctite Super Glue Gel
- Insta-Cure Gap Filling 2oz Bob Smith Ind.
- Citadel Plastic Glue
- Crafters Pick NOM492220 The Ultimate, 8 oz
- Professional Grade Cyanoacrylate (CA) “Super Glue”


