
While there usually isn’t a ton of buzz in the liquid AIO cooling community, the Arctic Liquid Freezer II series has garnered a lot of attention for having high performance while operating with a low amount of noise.
One of the most eye-catching features of the Liquid Freezer II is the 40mm integrated fan, which is designed to cool your motherboard’s VRM chips. In theory, this should prevent over-heating of the chips and potentially allow overclocking. As to whether or not this is true would require in-depth testing, as VRM cooling is something not seen very often, particularly in the average consumer market.
Regardless of whether the VRM fan is more of a marketing gimmick than a selling point, this cooler makes an excellent first impression.
Unboxing Experience
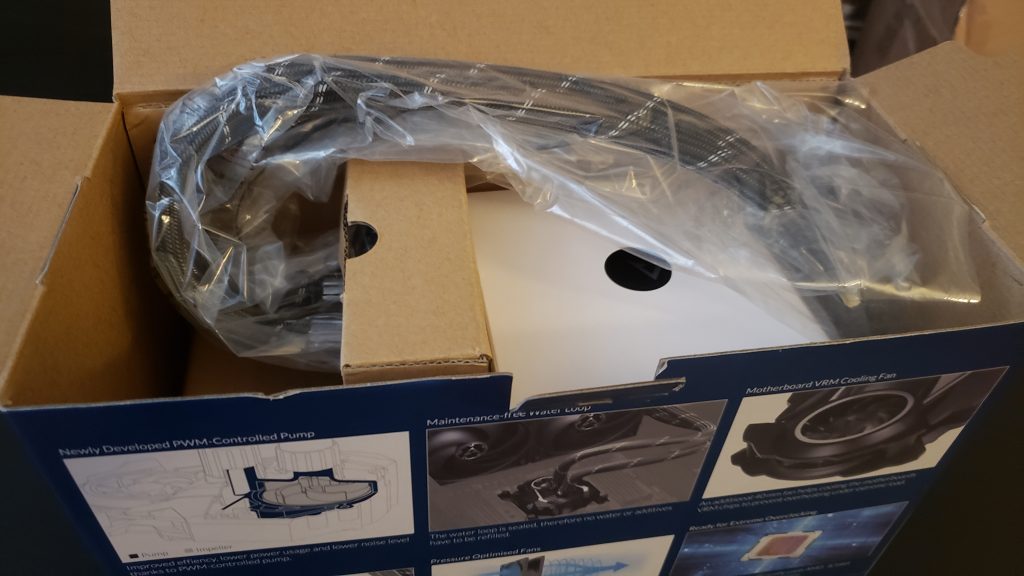
The Liquid Freezer II came well-packaged, sheathed in plastic wrapping around tight-fitting cardboard. While not as snug as if it were shipped in styrofoam, it’s unlikely that damage would occur to the cooler in shipping.
Besides the unit itself, mounting hardware was also included in a small bag, allowing the cooler to be installed with the commonly-used Intel 115X and AMD AM4 sockets. On this particular build, the cooler was used with a 6700K in an LGA 1151 socket.
The last few inclusions were a small support booklet, an installation card, and a small package of MX4 thermal compound. While the amount included would be enough, dispensing it might be a bit messy for first-timers or those more accustomed to the traditional plastic syringes.
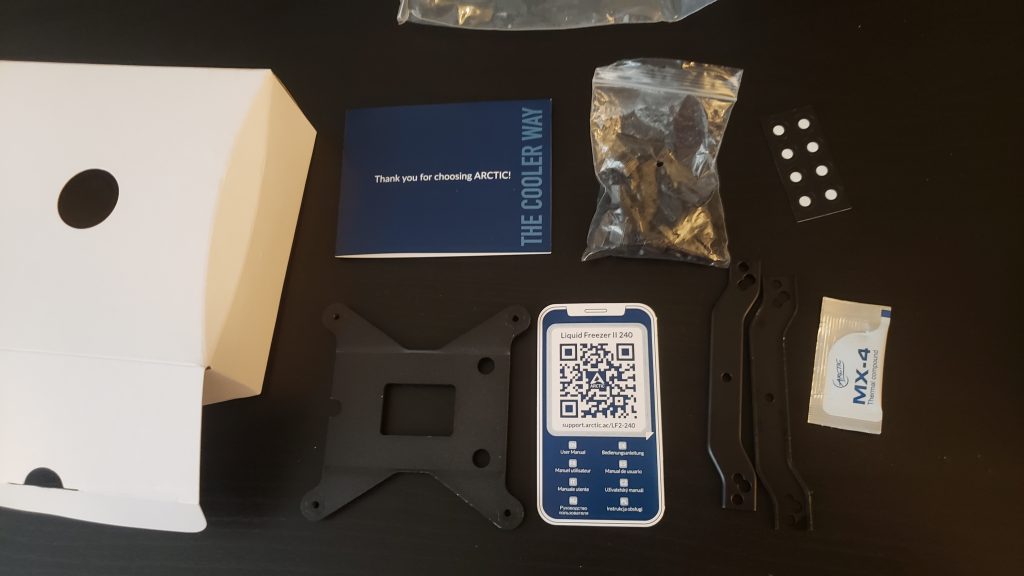
Interestingly, the installation card didn’t have instructions on it. Instead, it had a QR which, when scanned, directs the user to an Arctic website page with step-by-step directions as well as a comprehensive video.
Looking at the Cooler
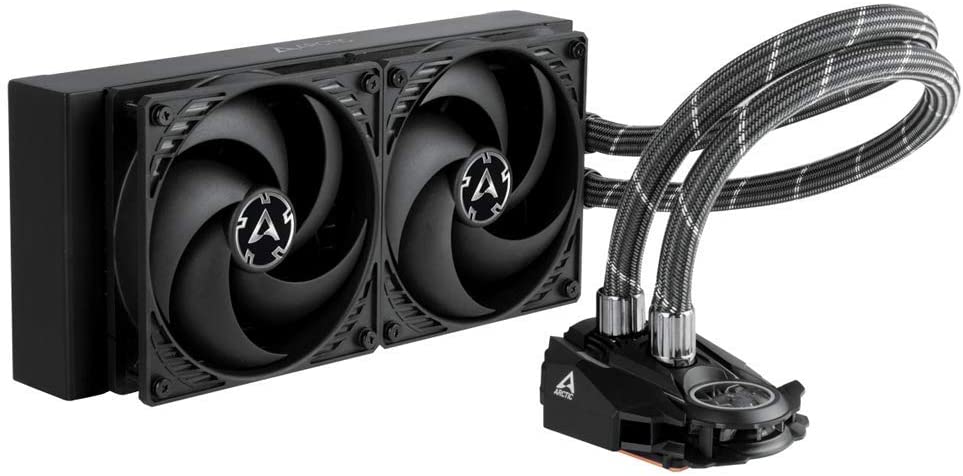
Besides the VRM fan mentioned above, the Liquid Freezer II 240 is particularly understated. Not a single LED (RGB or otherwise) can be found on the unit, which may be a selling point for some people who want a simple, clean build.
Preinstalled on the cooler are two 120mm fans, arranged in the push configuration. Luckily, for those looking to switch to a pull configuration, swapping the fans around is quite simple. Both fans (as well as the pump and VRM fan) are controlled by a single PWM cable, which is fed through the cable sleeving to the cooling block.
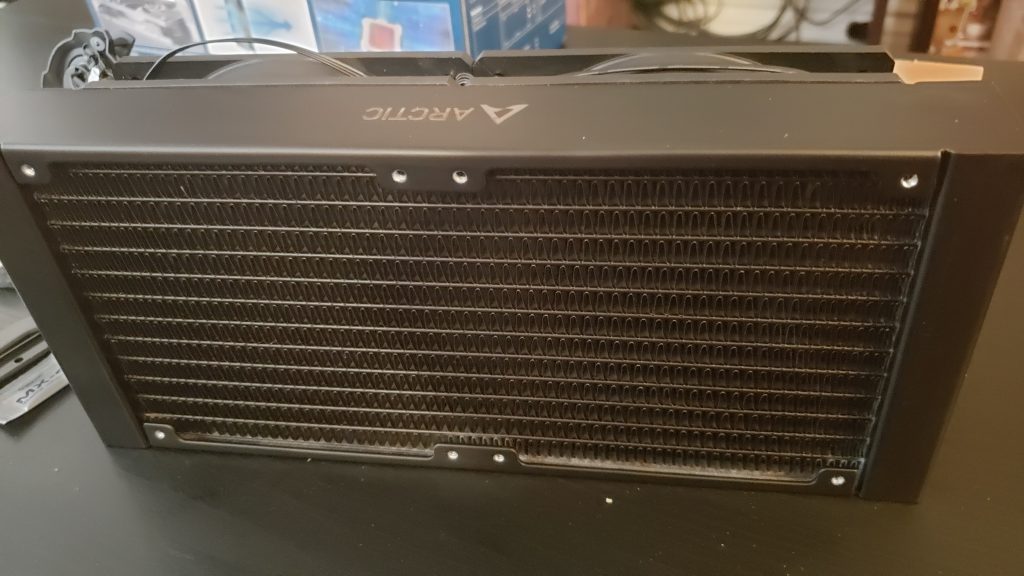
This can be a pro or a con, depending on how you look at it. If you want the cleanest looking cooler and individual fan/pump control isn’t a big priority, then having a single cable is a huge plus. On the other hand, if you want to set custom fan and pump curves, you’re out of luck in this case.
The build quality of the radiator and its housing feels solid, with a total thickness of 38mm (above the average 30mm of most AIO coolers). While great for performance, this thickness might cause problems for installation, which we’ll get into in just a bit.
Overall, nothing about this unit feels cheap or prone to breaking, which should calm any reservations that one might usually have when it comes to liquid cooling.
Installation
The installation of this cooler was relatively simple, with two small caveats. To give some context, the case used for this build was an NZXT S340 with an Asus Maximus 8 Formula motherboard.
While I prefer to use physical instructions, the digital ones on their website were very straightforward and clear to understand. The included video would be beneficial as well for first-timers.
Backplate and CPU block installation was very straightforward. One of the minor issues that I had was with the included thumbscrews. They were a bit on the smaller side, which means handling them was a bit tricky. In one instance, the thumbscrew fell onto the motherboard, getting stuck down by the RAM slots, and needed to be fished out with a pair of tweezers. This wouldn’t have been an issue if other components were not installed first, so your mileage may vary.
After the block came the radiator and fans. As noted previously, having the fans preinstalled with wiring routed through the tube sleeving was a big help. It did become clear that in some cases (pun intended), radiator installation might be a bit anywhere from a bit troublesome to impossible. That increased thickness mentioned earlier? It caused the frame to almost make contact with the motherboard, with clearance being only a few millimeters.
You can see from the photo below just how tight the fit is.
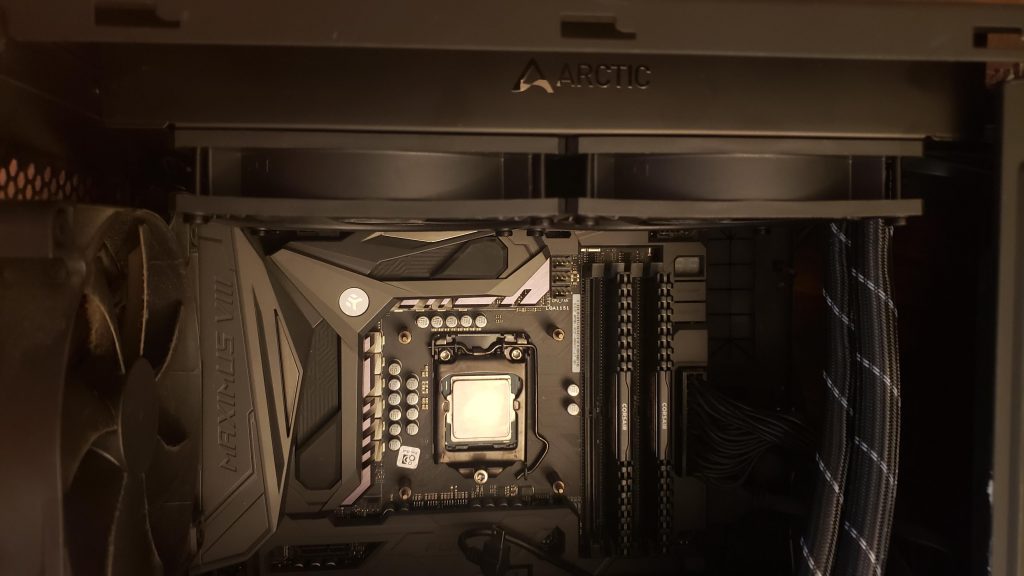
I would strongly recommend you double-check the measurements for your build, as running into an issue at the cooler installation stage would be incredibly frustrating for anyone.
Small annoyances aside, the Arctic Liquid Freeze II took very little time to install (about 15 minutes total), and cable management was a breeze, thanks to the single PWM cable.
Using the Cooler
The Arctic Liquid Freezer II 240 has been in use for about a week as of writing this. Overall, I’ve got to say that I’m impressed by its performance.
My tower sits right next to me, and I’ve not been bothered or even noticed any noise coming from the pump or the fans, aside from the brief movement of liquid that happened when I first turned my machine after installation. Admittedly, I do miss the RGB of my previous cooler, a Corsair H100i V2.
As a reference, my 6700K is overclocked to a very modest 4.4 GHz. So far, the cooling performance of the Liquid Freezer II has been exceptional and remains in line with the observations of other reviewers.
As for the endurance of the cooler, that remains to be seen. Arctic has a fairly solid reputation, and as noted before, their product seems to be very well constructed. However, the stereotype of AIO coolers failing exists because some -do- fail, even if it’s a rare occurrence. As such, a note will be made in this review should any failures occur.
While it’s hard to give a longterm recommendation for an AIO due to its nature, the Arctic Liquid Freezer II 240 has impressed me with its cooling capabilities. If you’re looking for a competitively-priced, sleek AIO cooler without RGB that performs exceptionally well, then this might be a perfect fit for you.
The Arctic Liquid Freezer II 240 was reviewed in conjunction with https://www.elitexgaming.com/.


there’s a pretty steep $30 price diff between the 240mm and 280mm, is it worth it to go for the 280mm?